Recently, I had to set up both the audio and visual systems in a classroom so that the teacher could project a movie from their Chromebook. The Chromebook initially had nothing connected to it and had default settings.
The Visual Systems:
To get visual systems working, all that really needs to happen is for the computer or Chromebook to be displayed on the projector screen. For this to happen, the projector needs to be on and in the right setting. The teacher was trying to play a movie straight from the Chromebook, meaning the right setting was "Computer (1)". If the teacher had been trying to use a DVD, video would be the right setting. The projector being on "Computer" mode doesn't mean anything if the computer itself is not connected to the system. The visual system uses VGA (Video Graphics Array) to transfer video. To get video working, the plug (shown below) had to be connected to the computer.
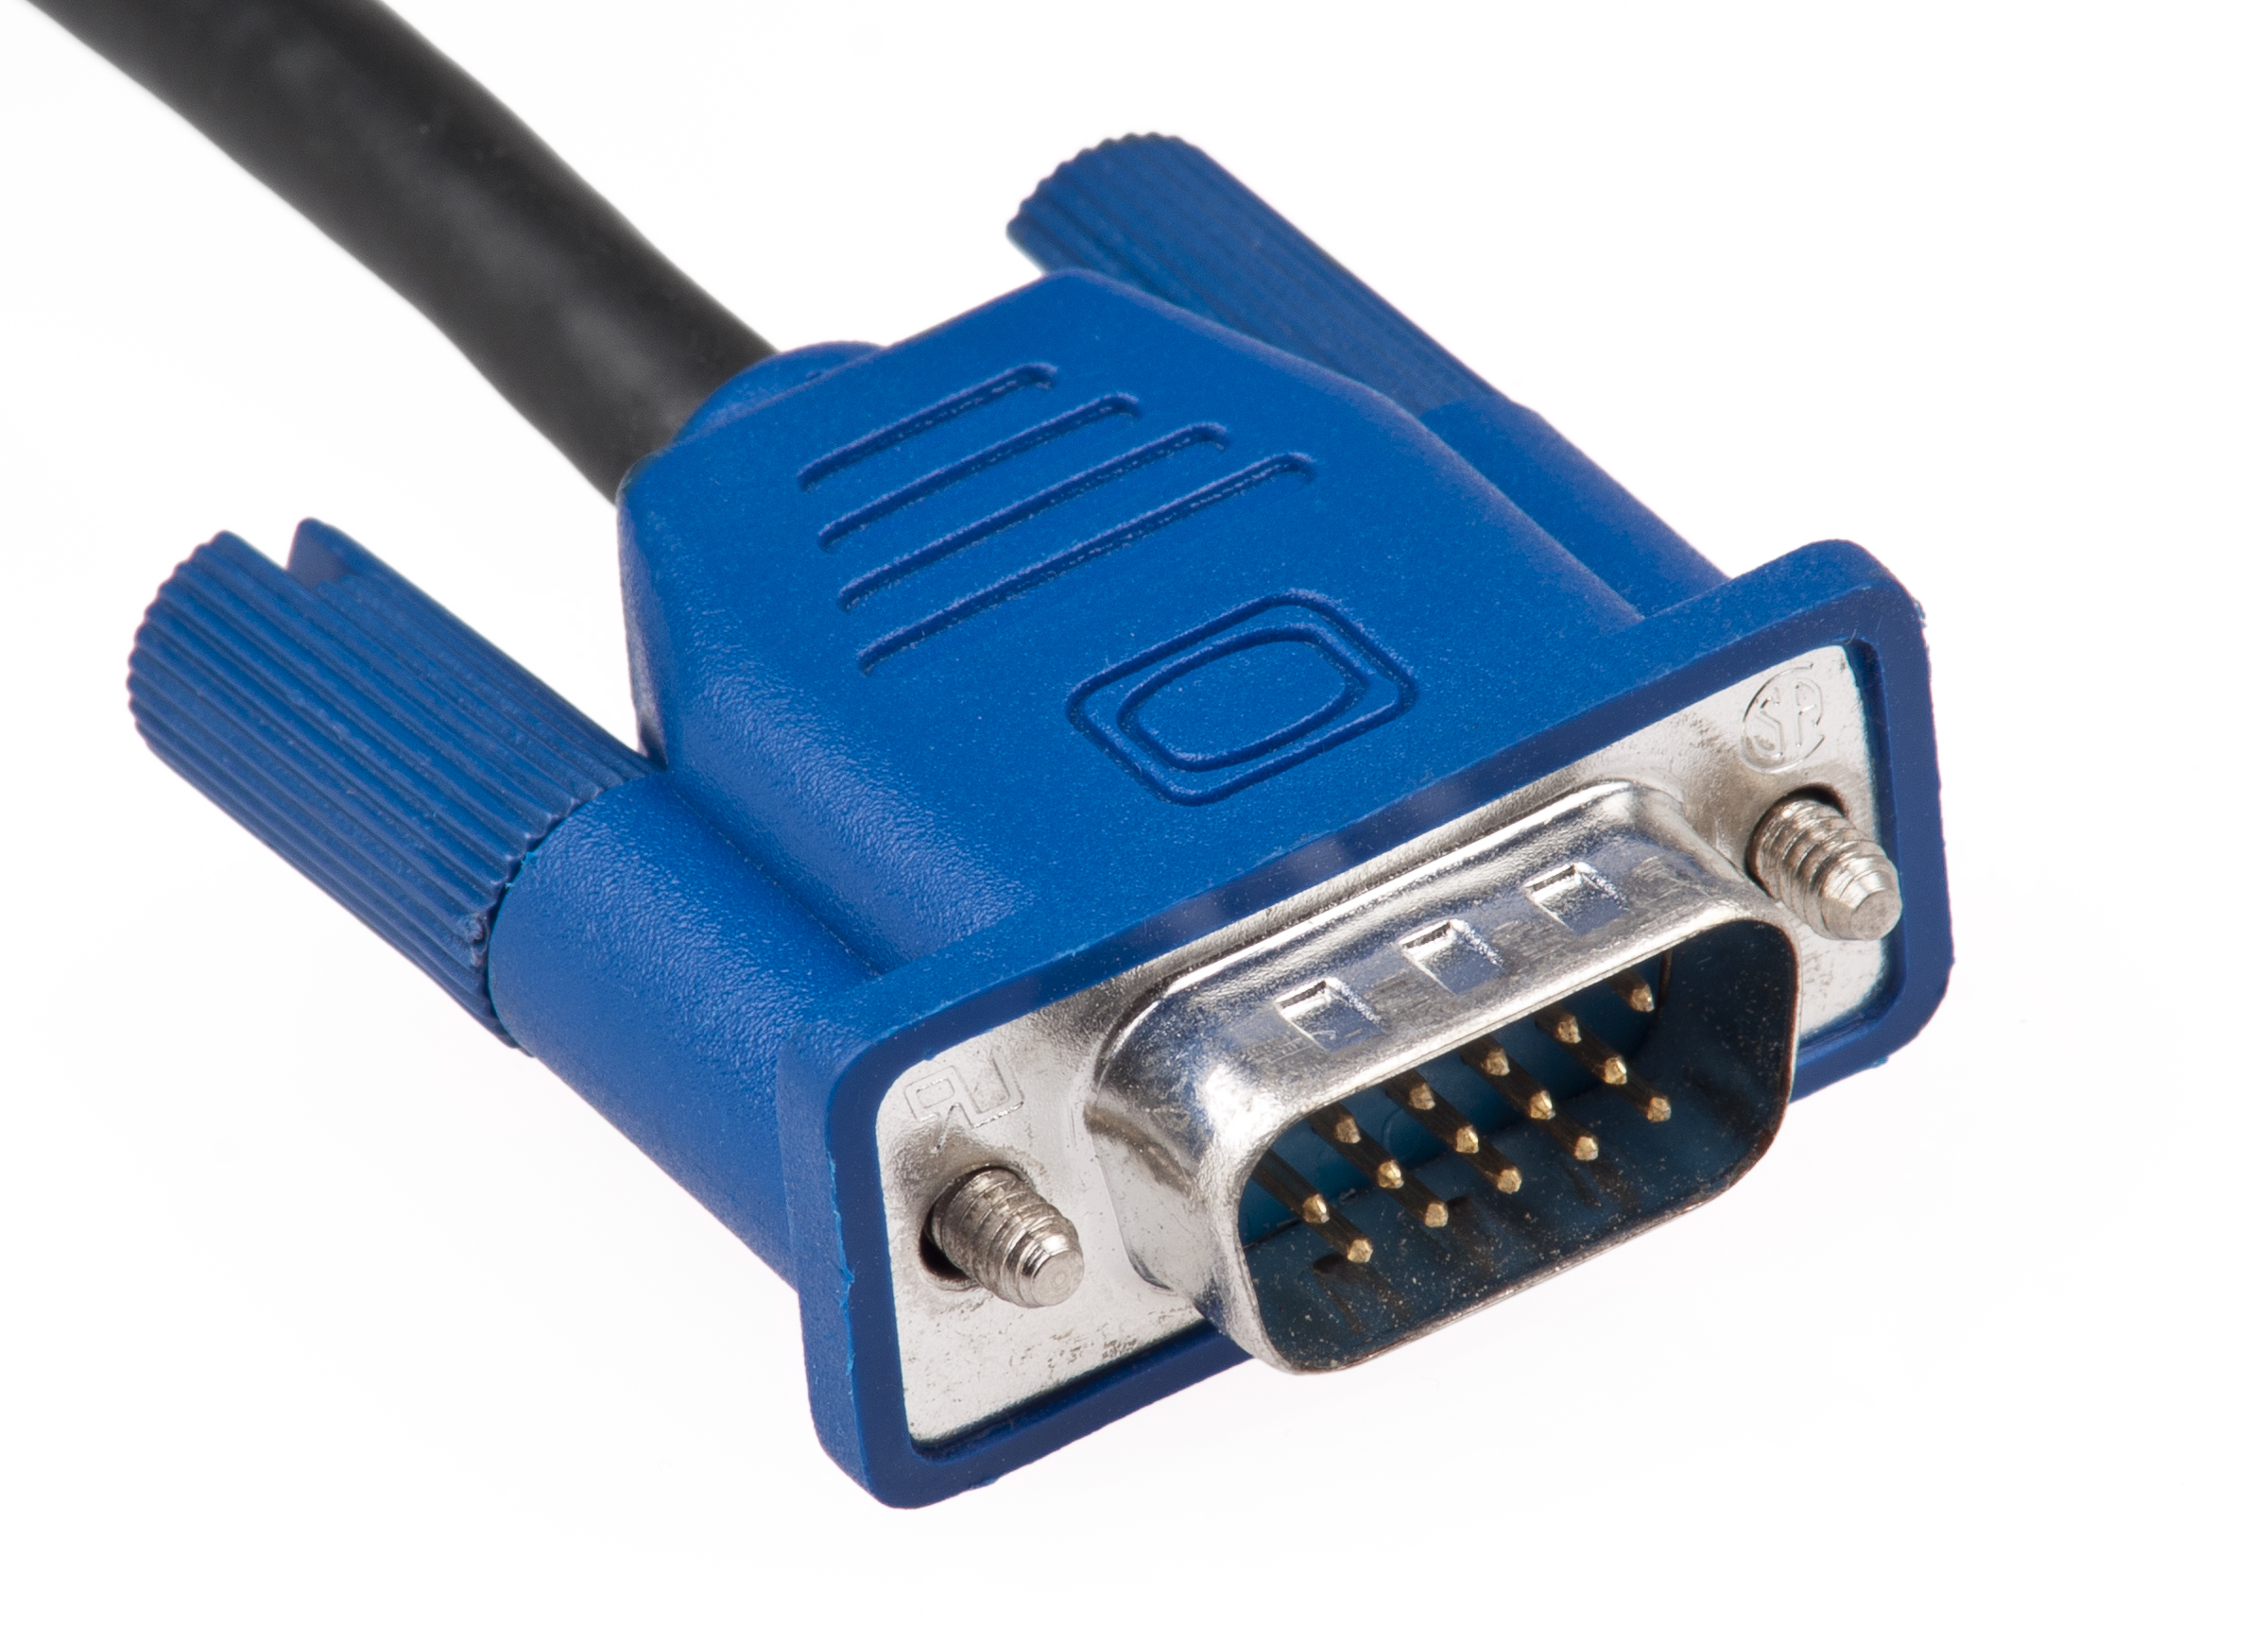
Newer computers, especially Chromebooks, wont have VGA plugs in them because VGA systems are now considered obsolete when comparing them to HDMI (High Definition Multimedia Interface) systems. To be able to connect the VGA cable to the Chromebook, a VGA to USB adapter (shown below) was needed.

Once this was connected, the projector recognized that the Chromebook as a computer so the "Computer" mode now showed the Chromebook, however there was one final problem with video. The Chromebook was in "extended display" mode instead of "mirror display" mode. The difference is that extended display allows for a second monitor so the projector was being used as a second display screen instead of a complimentary one. After changing to "mirror display" mode, the projector mirrored the image of the Chromebook and the video was finally working. To switch the modes, go to display under settings. From there, click around until the option to chose "extended display" or "mirrored display" shows up. It will be under the display category. Once the "mirror display" mode is connected, the projector should work.
Audio Systems:
While modern HDMI systems connect video and audio through one singular system, VGA is a video only system which means the audio must be separately connected. To connect audio systems, first make sure that the system is on. At the front of the classroom, under the board and projector screen, there should be a black hatch. Inside the black hatch, the sound system is stored. There should be a power button that says power. Once clicked, there should be a few lights on, indicating that the system is on. To connect it, find where the wires come out of the wall (which is probably near the teachers desk and should be close to the sound system hatch) and find the white and red cables. These are the audio cables (shown below).

These cables should be connected to the audio system behind the wall. Depending on the type of computer, different adapters may be needed to connect them. On a Chromebook, they can connect to the headphone plug. The two audio (red/white) wires must be connected or joined into one output that becomes the headphone jack or end(two jacks shown below) and then plugged into the Chromebook. The two separate red and white audio cables can't connect to the computer unless they are merged.

Once the audio is plugged in, it should work as long as the projector has its volume on (which can be changed using the projector remote). Although each computer in the school might be slightly different, the same audiovisual systems exist and will need to be connected to project from a computer.
Comments
Post a Comment