Setting Up and Operating a 3D Printer
 |
| The Makerbot Replicator 2 |
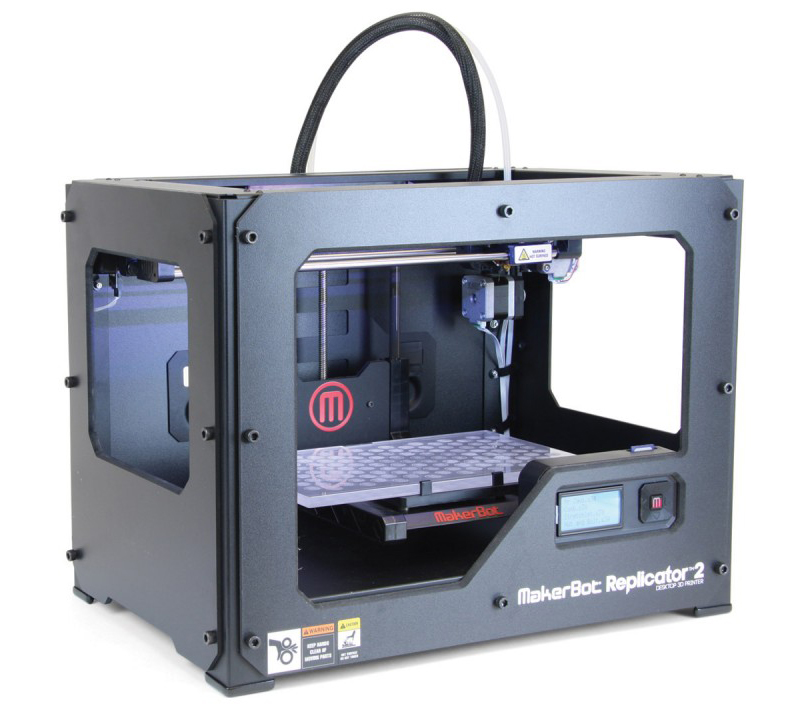
My assignment for the Teach a Teacher Project is to set up a 3D printer for Mr. Wiczer in his room and teach him how to operate it.
The printer I am working with is a Makerbot Replicator 2. Makerbot Replicator 2 is different from many other printers in how it is operated, but some things are the same for all printers.
The printer I am working with is a Makerbot Replicator 2. Makerbot Replicator 2 is different from many other printers in how it is operated, but some things are the same for all printers.
How to Print
Like many other printers, the design that you have created has to be exported from your design software of choice (for example Tinkercad) as an .STL file. For the makerbot, the next step is to use the Makerbot Print software.
 This can be downloaded at this website. Once downloaded, open Makerbot Print. Go to
File --> Import File and choose your STL file. This will but your 3D design into Makerbot Print.
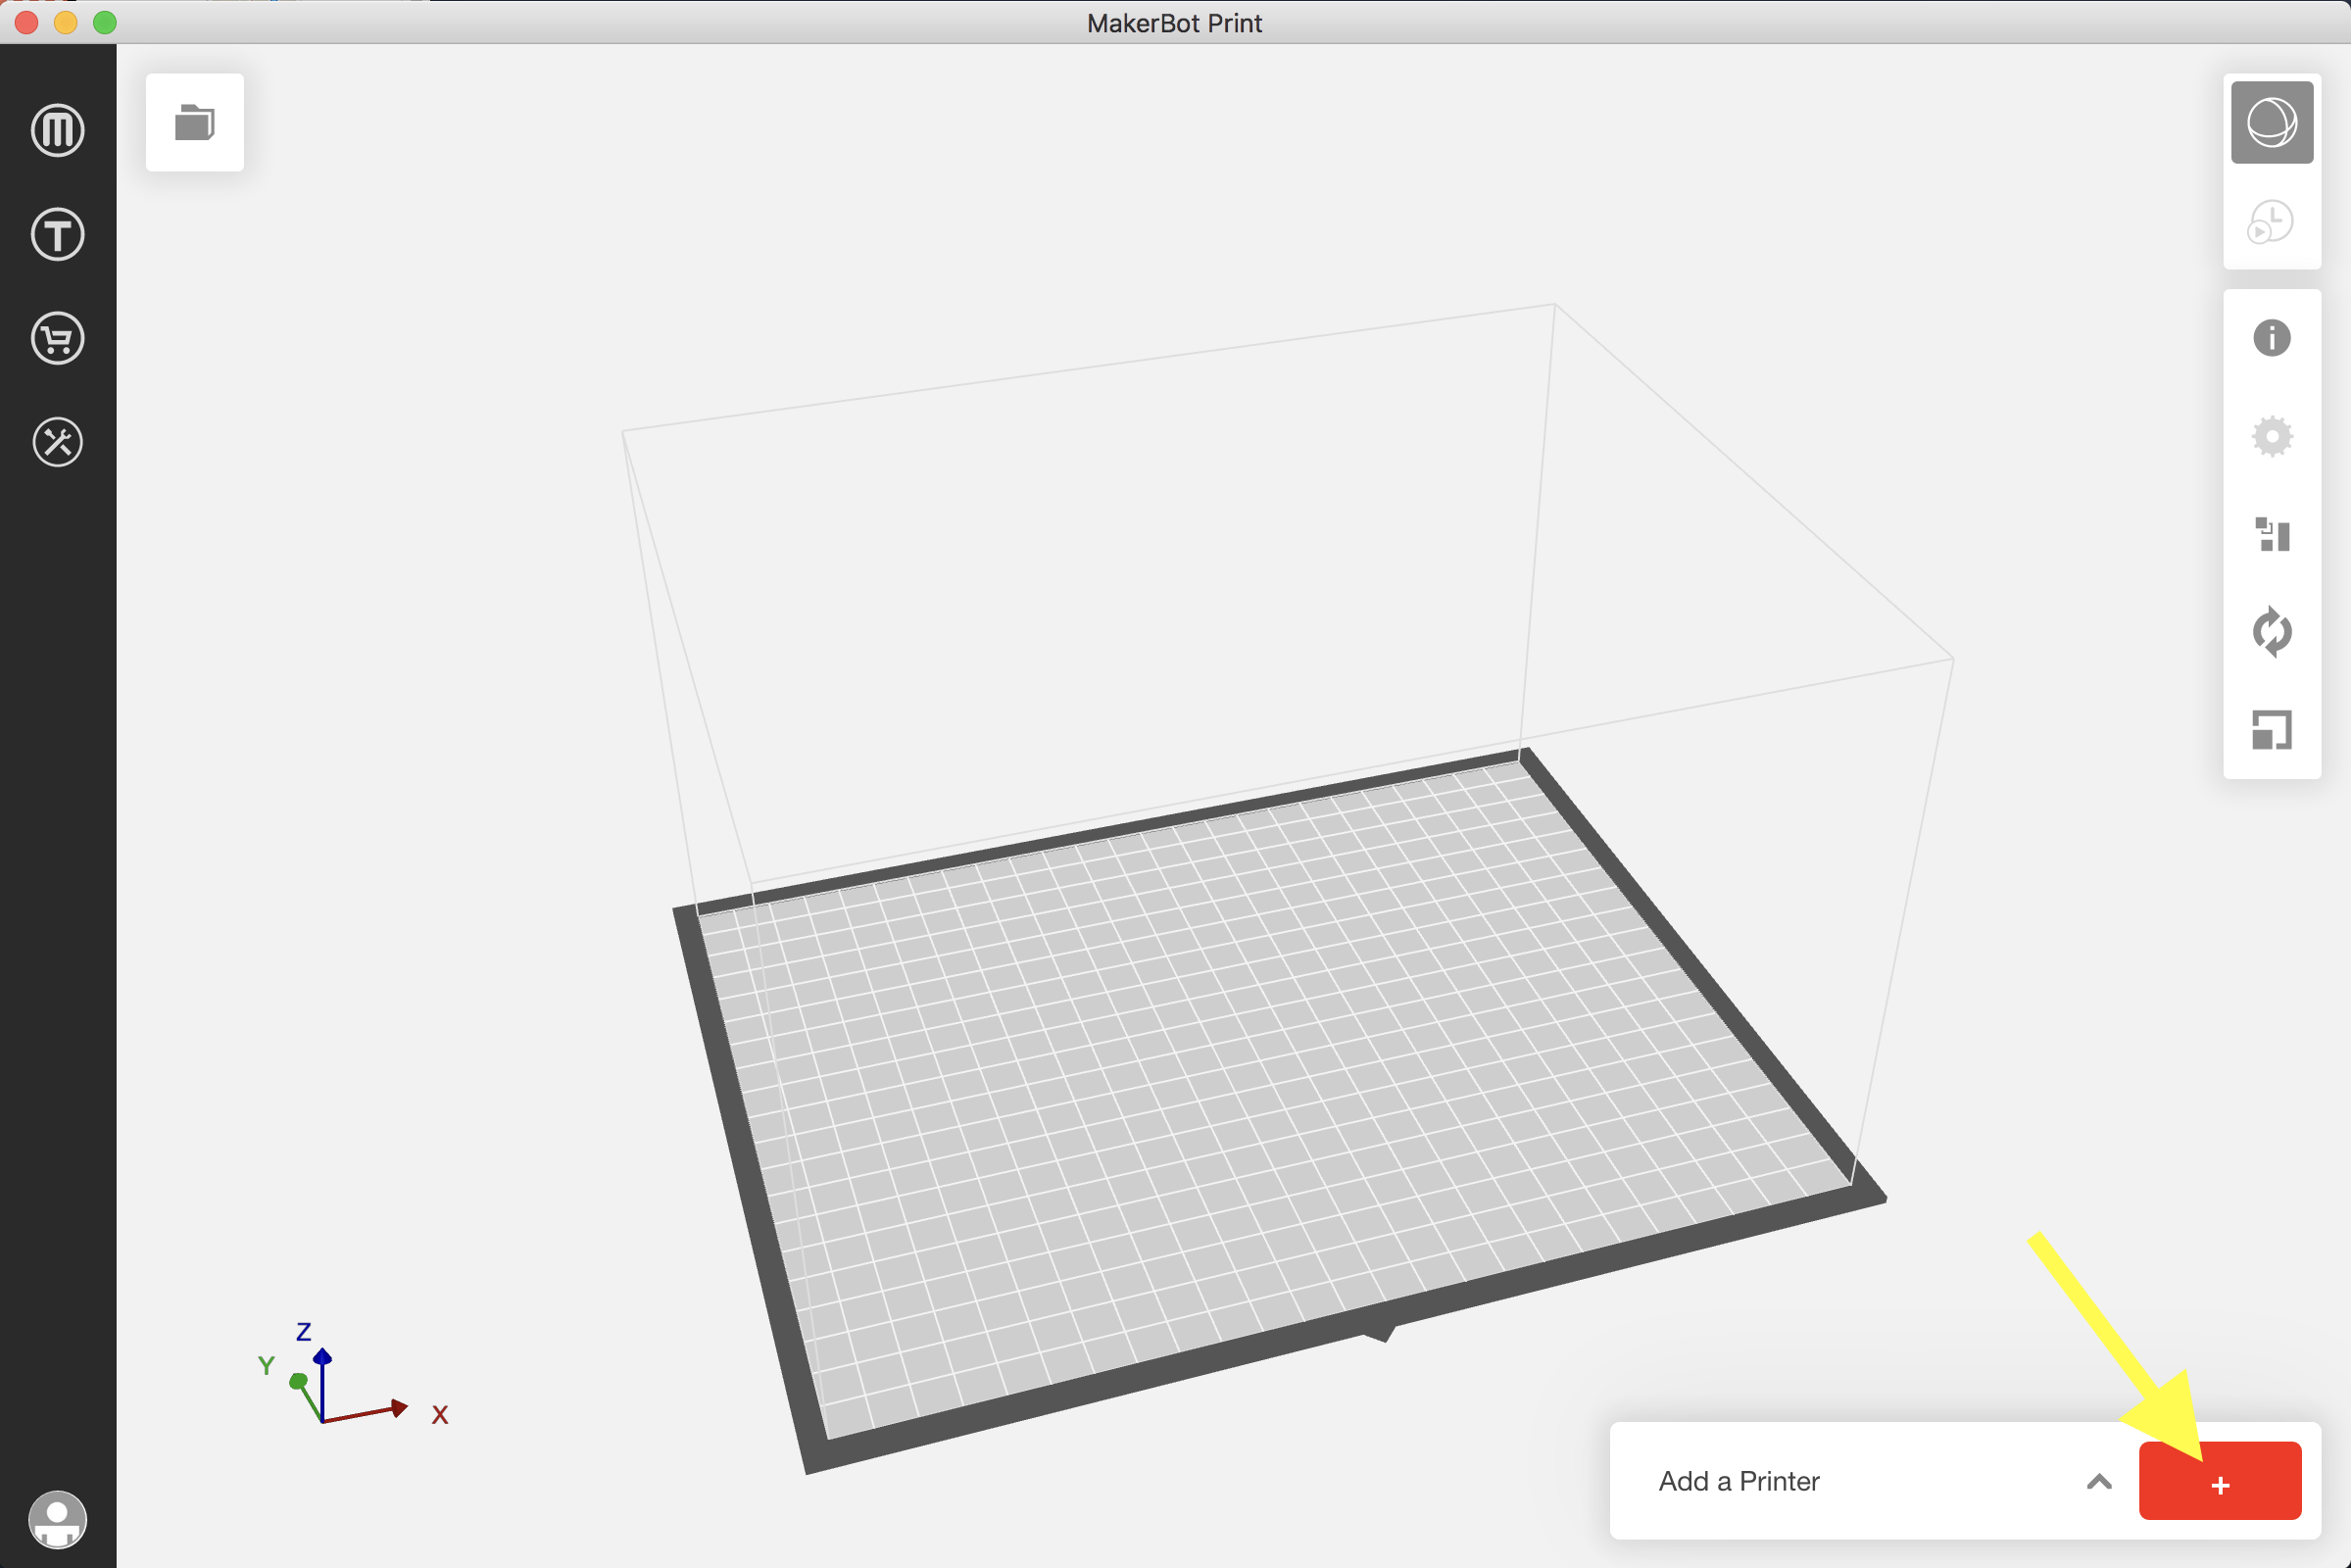
In the bottom right corner, there will be a button. Click the button and then select your printer. If the printer you would like to print from is connected by a wire it should show up and you can select it. If, not go to 'add an unconnected printer' and select 'Replicator 2'. If your printer is wire connected, press 'Print' and your design should begin printing. If your printer is not connected, plug at Makerbot SD card into your printer and press 'Export'. Then select the SD card and your design will be put on the card. Make sure the file you are putting on the card is in .X3G format. Then, put the SD card into the printer and press 'Print from SD Card' and select your design. Your print should then begin.
Comments
Post a Comment